Installation & Setup
Getting started with OPLNova is quick and easy. Follow these steps to set up your environment.
1. Download and Run
Download the latest version of OPLNova from our download section.
- Arch Linux: Available via AUR as
oplnova. - Generic Linux: Run the provided AppImage.
- Windows: Extract the ZIP archive and run
OPLNova.exe.
2. Initial Configuration
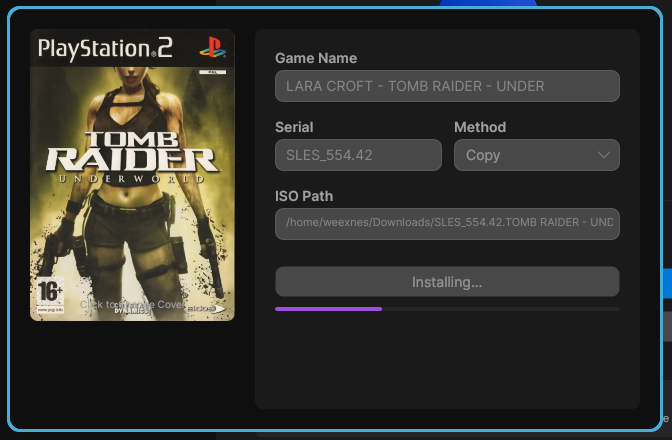
When you first launch OPLNova, you'll need to configure your Library Path. This is the root folder where OPL expects your games.
Your library path should contain (or will be populated with) the following folders:
DVD/: For DVD ISO files (greater than 700MB)CD/: For CD ISO files (less than 700MB)ART/: For game covers and artworkCFG/: For per-game configuration filesVMC/: For Virtual Memory Card files
3. API Configuration
OPLNova requires an API for metadata and artwork. Since there is no built-in service, you must self-host your own API instance. Once hosted, point OPLNova to your API instance by manually editing the settings.ini file located at:
Add or update the following keys:
library_path: Path to your OPL folder.preferred_installation_method: Set toMove(default) orCopy.api_url: The base URL of your OPLNova API instance (e.g.,http://localhost:3000).
4. Self-Hosting the API
The OPLNova API is open-source and must be self-hosted to provide metadata and artwork for your library.
To get started, you can download a ready-to-go ZIP archive containing the precompiled binary, static HTML files, and the database setup script.
To set up your instance:
- Extract the downloaded archive.
- Run
bash setup_db.shto initialize the game database. - Start the API service:
- Using Precompiled Binary: Run
./ps2_apiin the extracted directory. - Compiling from Source: Run
v run api.v.
- Using Precompiled Binary: Run
- Update
api_urlin yoursettings.inito point to your local service.